Sunday, 2 December 2012

How to Make Snow in Miniature

Making Snow for Miniatures
You would have laughed this afternoon if you could have seen me making my miniature Christmas village look cold and wintery. It involved a lot of glue, a teaspoon, glitter and baking soda, of all things!
  Firstly I sat each mini house and the church in a plastic container. Then I dribbled glue quite thickly in the places I wanted the snow to sit on the roofs. The next step was to spoon baking soda over the gluey patches. I used several teaspoonfuls on each house so the snow looked as if it had piled up around the chimneys and along the roof edges. Because the houses were in the containers it wasn't too messy a job; the excess baking soda just fell into them. And I shook the houses just before the glue dried so the extra 'snow' dropped off too.
  The piece de resistance was squirting white sparkly glitter over the snow. I'm pretty pleased with the result.
A Snowy Miniature Scene

Saturday, 24 November 2012

More on the Christmas Village in Miniature

All Made From Paper for the Christmas Village
I've been folding paper and glueing paper this morning and these are the results - the church for my Christmas village and two types of trees. I must say that the bare branches ones were extremely fiddly to do. I lost count of the number of times they fell apart! But now, as you can see, they are standing at last.
  When I have decorated the church with the snowy stuff and glitter I'll be able to put in the vellum paper windows. I'm wondering if I used coloured highlighter pens on the vellum, would I get a stained glass effect?  There is a generous amount of that paper supplied so I think I'll give it a try. I'll let you know the results.

Tuesday, 20 November 2012

Mini House for the Christmas Village

All the house parts are pre-punched - no need for scissors!
What a dream it is putting the miniature houses together! They are made of heavy paper which is pre-punched so you just need to push the pieces out of the background paper. And the lines to fold are all pre-scored as well so you know exactly where to bend the edges to make the tabs for gluing, and where to bend the wall lines.
Assembling the house parts
Once the pieces are all folded properly you can glue them together. The glue that is supplied with the kit is VERY sticky and, in my usual battle with adhesives, I managed to get more on my fingers than on the house walls! I needed to stop every now and again and wash my hands with hot soapy water.
The house ready for decorating
Here is the house, all stuck together and ready for decorating. The instruction book suggests putting the 'glass' in the windows after you've finished using the glitter and fake snow so the panes stay clear.
  I'll make the other houses now and get out the glue, glitter and snowy stuff when they're done. Then I can make one big mess instead of several little ones!! I must remember not to breathe in when I'm squirting glitter around!

Thursday, 15 November 2012

Making a Christmas Village

A Christmas Village Kit Set
Well, I got quite a surprise when this arrived in the mail. I had ordered it from an on-line store, thinking I was getting a book with patterns and instructions for the little houses. The photo they'd put up had the bottom of the picture cut off so I didn't see the 'includes' part.
Inside the Christmas Village Kit
  What I got was this box with everything you need to build the Christmas village: the instruction book, the glue, the glitter, the heavy paper house patterns, even a ready-made Christmas tree.
An Example of a Paper House
What I really like about the kit is that the paper parts are pre-punched and scored - you don't even need scissors.
  The kit makes 3 houses, 1 church, several green Christmas trees, 2 trees with bare branches, a dog kennel, a snowman and a picket fence. And in the book are more of the patterns so you can photocopy them off if you want to make more buildings.
  It is not dolls house scale - it's more railway OO scale, I think. I'm planning to put it on my (real house) mantelpiece at Christmas.
  I'll keep you up-dated as I build it!

Thursday, 8 November 2012

More Photos of the Mini Mice

I've been asked for more photos of my miniature mice so here they are. Enjoy!
Bless This Mouse
Swinging round the bird feeder
Tree Climbing
Playing in the petunia patch

Saturday, 3 November 2012

Photographing the Miniature Mice

Miniature Mice and Real Chicken!
Often when photographing miniatures, it is best to work in natural light as much as possible. I was having a serious session taking photos of several minis outside for a magazine article when a mad mood overtook me!!
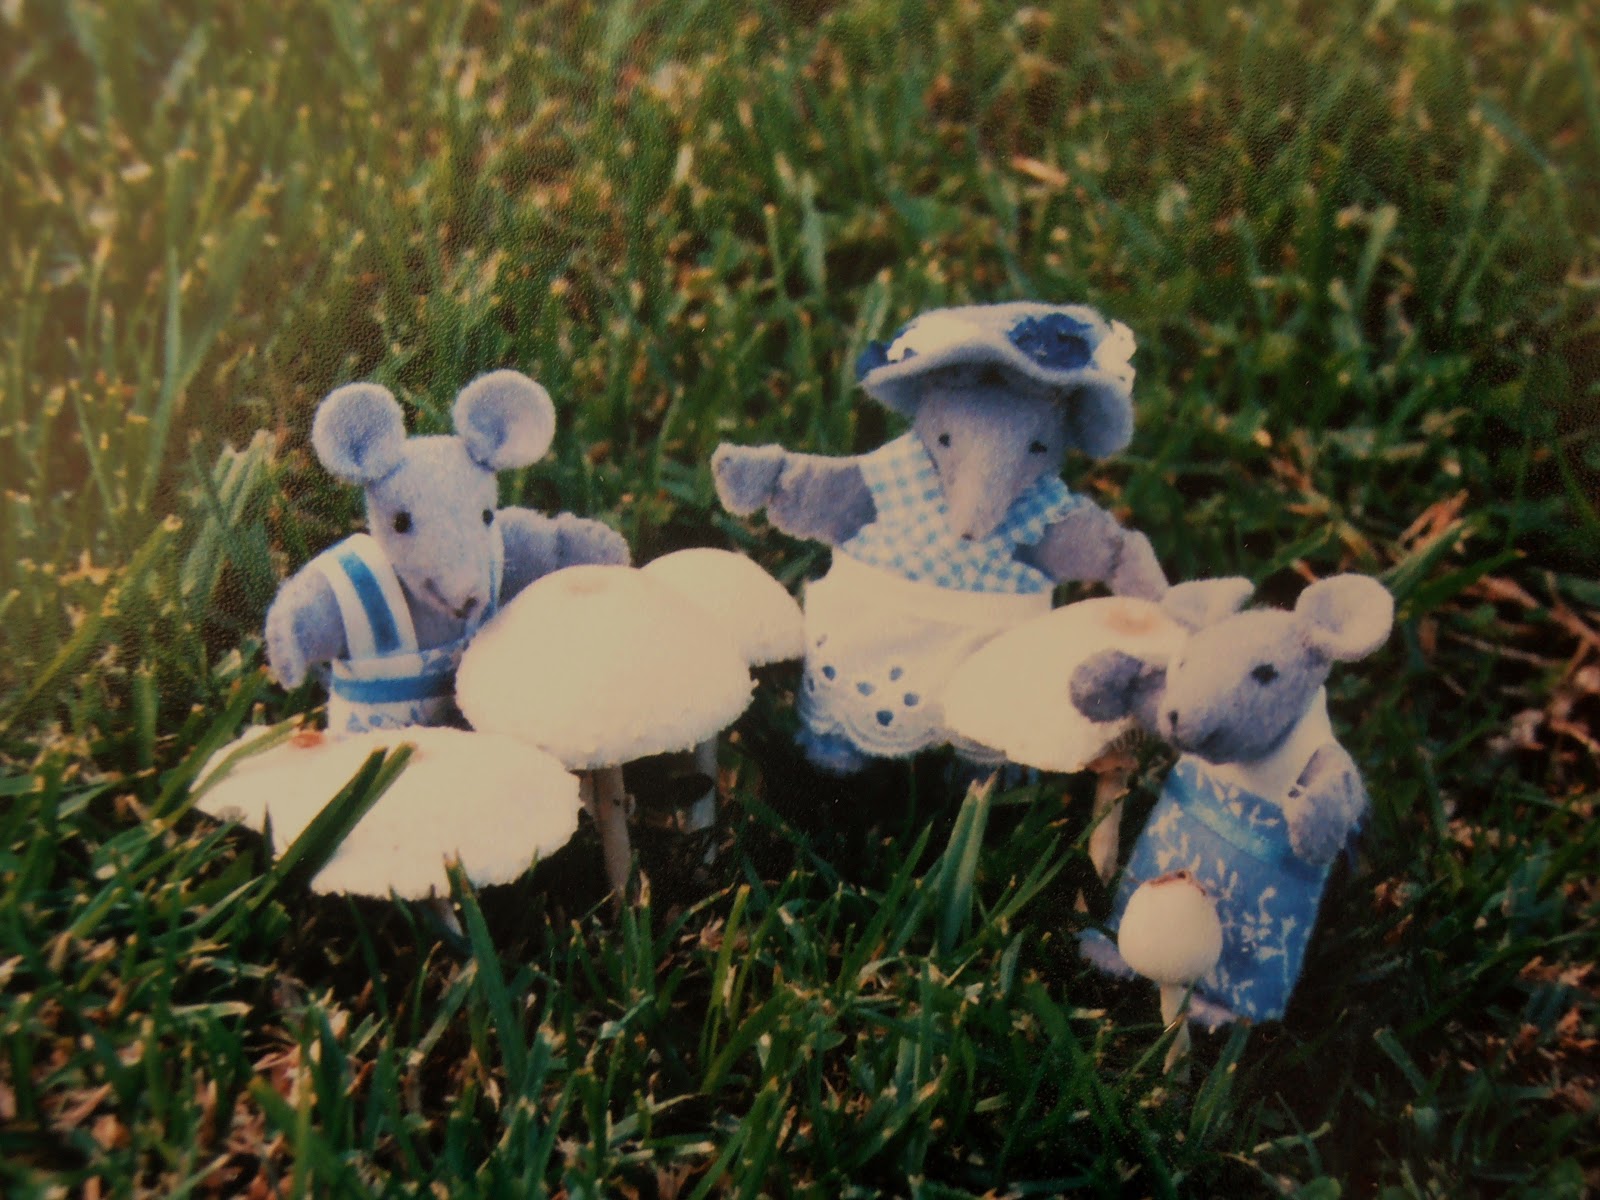
  I got the miniature mice I had made (see my blog post about them under 'Small Projects') and a handful of breadcrumbs, scattered the bread on the grass and posed the mice around it. Then I hid behind a bush with my camera and waited.
  It wasn't long before my bantam hen appeared. She approached cautiously, had a good look at the mice then ignored them and started in on the breadcrumbs.  I got this great picture!
Mini Mice and Real Mushrooms
I got carried away then. I photographed the mice climbing trees, carrying their little suitcases across the drive, peeping out of the tops of my gumboots and playing ring-a-rosey round these mushrooms. 
  Sometimes you just have to release your inner child and be playful! 

Saturday, 27 October 2012

How to Change a Resin Doll Figure in 1:12 Scale

Upgrade a Resin Doll in 1:12 Scale to Make it Unique
If you're a dolls house fan, I'm sure you've seen the resin dolls that are available in 1:12 and 1:24 scale. They are a relatively cheap way of populating a dolls house or miniature scene. They come in such a wide variety of poses: from a housemaid kneeling with a brush and dust pan; to a portly gentleman holding a brandy glass; to a child cuddling a teddy bear, and just about everything you can think of in between!
  And they may be styled as Victorian or Georgian or Edwardian or Art Deco or Modern Day. There are so many to choose from.
  But once you have a resin doll you might want to customise it to make it unique to your project. And there are a couple of ways of doing just that.

  • With fabric and glue. I use UHU glue because it 'grabs' quickly and seems to stick cloth to resin very well.  This started out as a Victorian resin figure in a brown dress with a bustle down the back. Transformed into an Edwardian lady, the only things sewn are the ribbon roses. All the cream fabric and lace was glued straight onto the resin doll. (And yes, she is headless - I wanted her to look like a mannequin in my miniature museum rather than a person.)


Lace is Glued to a Resin Doll to Change the Style of Dress
  • The tricky bits. Some of the resin figurines might have their hands or arms in places that are awkward to stick the fabric around. I found it best to cut and tuck the material so it looked as if it was falling in natural folds. You really just need to play around with it until you're happy with the draped effect. This figurine (ignore the hair, I haven't finished trimming it!) was a lady in a very posh frock but some black fabric, white apron and lace downgraded her status to one of parlour maid.
  • With paint. Those test pots of acrylic paints or tubes of artists' paints come in such a range of colours and brush onto the resin so smoothly that in a few minutes, you can change the colour of your doll's clothing or hair or accessories very cheaply and easily.
It's fun to take a mass-produced object and customise it in your own, unique way. Give it a try!